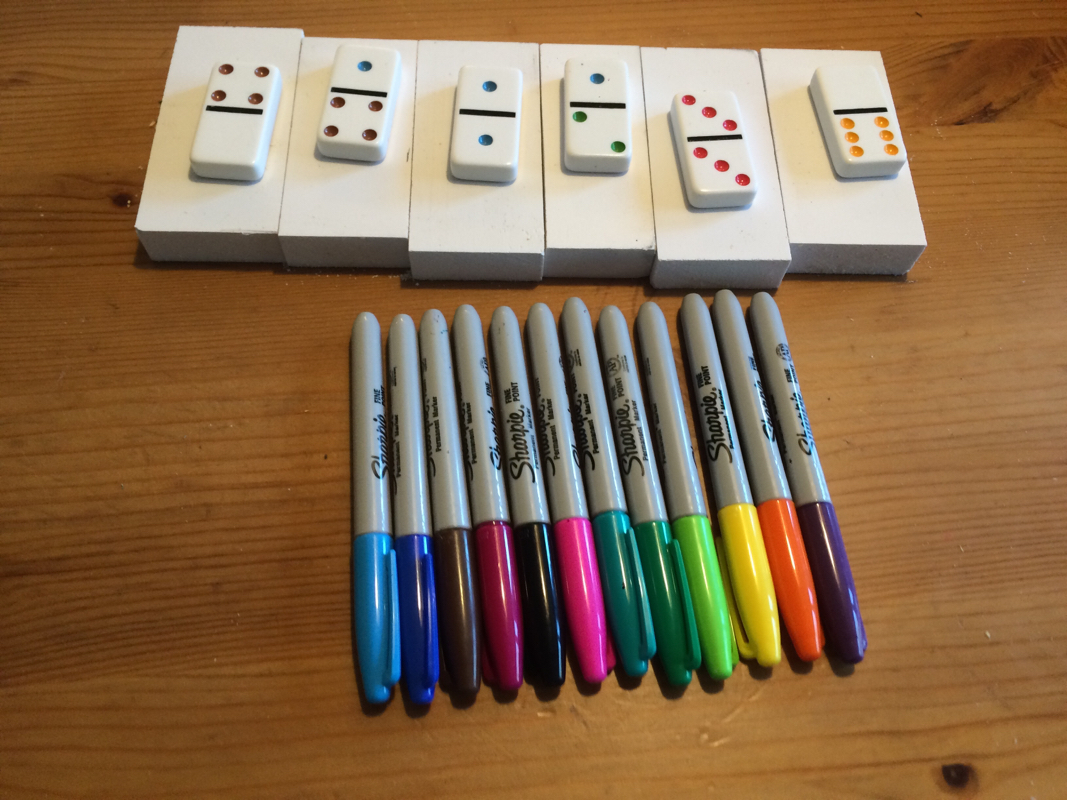
What you need:
18 black beads
20 yellow beads
10 orange beads
26 royal blue beads
31 white beads and
clear or light blue beads
and an iron
parchment or wax paper
18 black beads
20 yellow beads
10 orange beads
26 royal blue beads
31 white beads and
clear or light blue beads
and an iron
parchment or wax paper
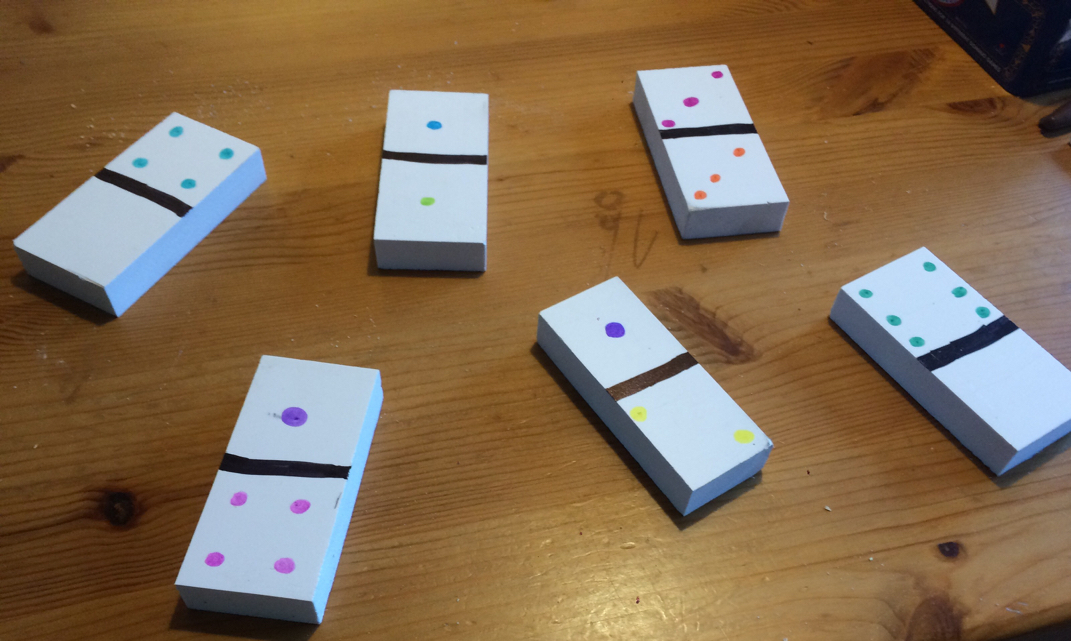
Follow the picture below and then iron till your desired meltyness
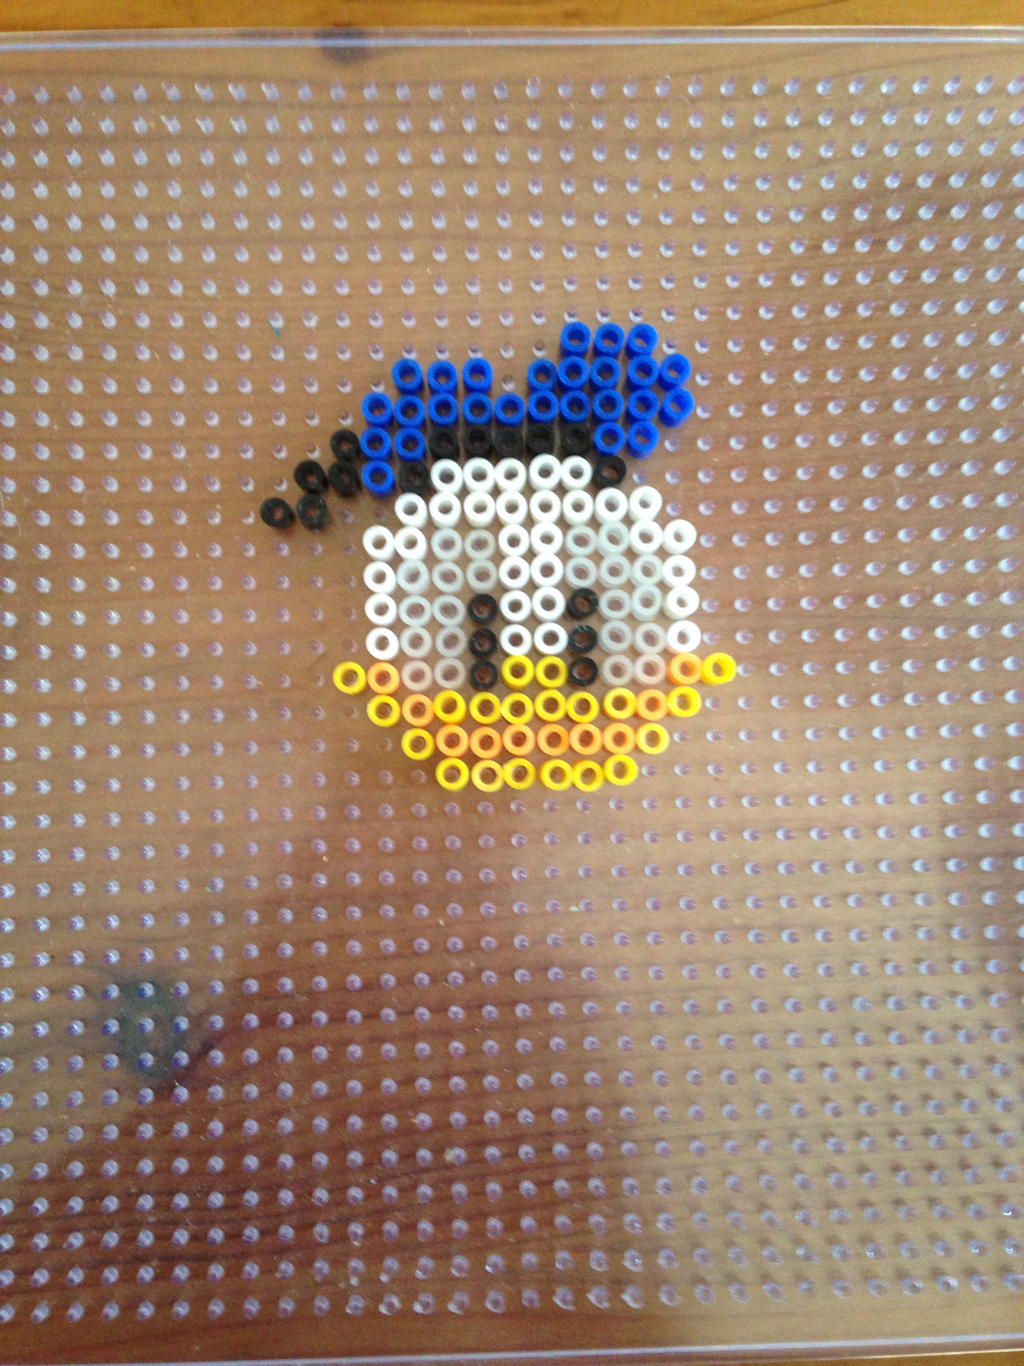
Use Parchment or wax paper to iron
Ask an adult for help
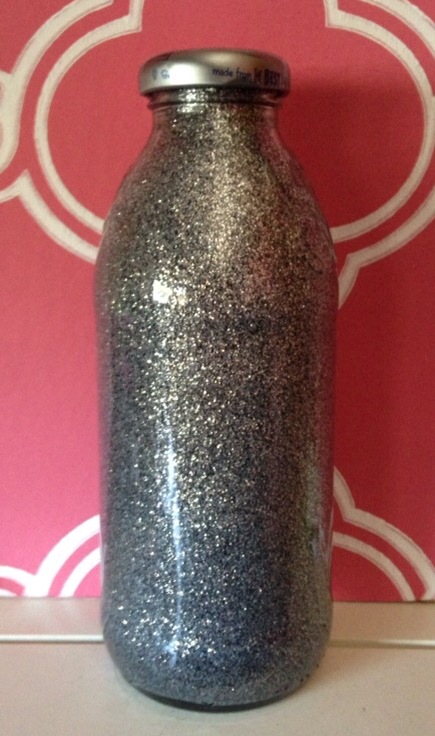
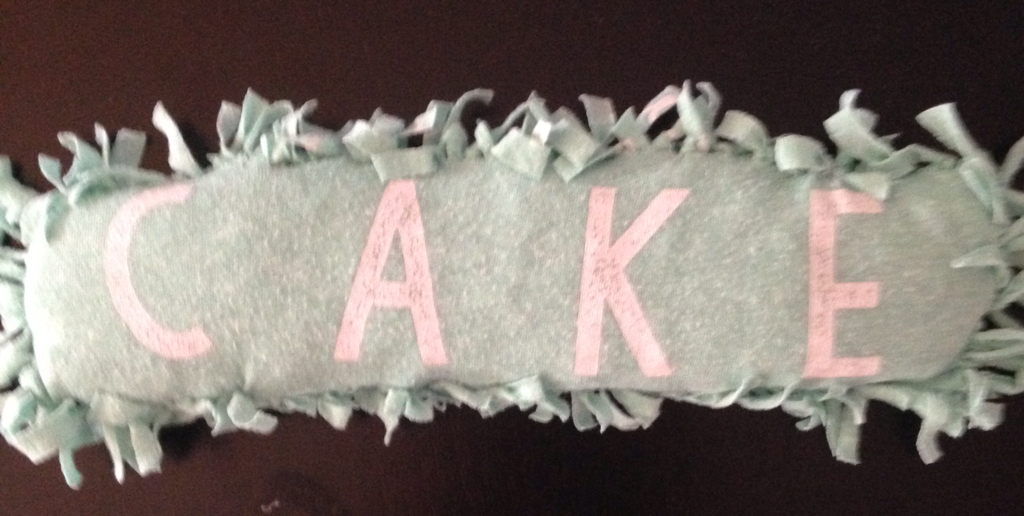
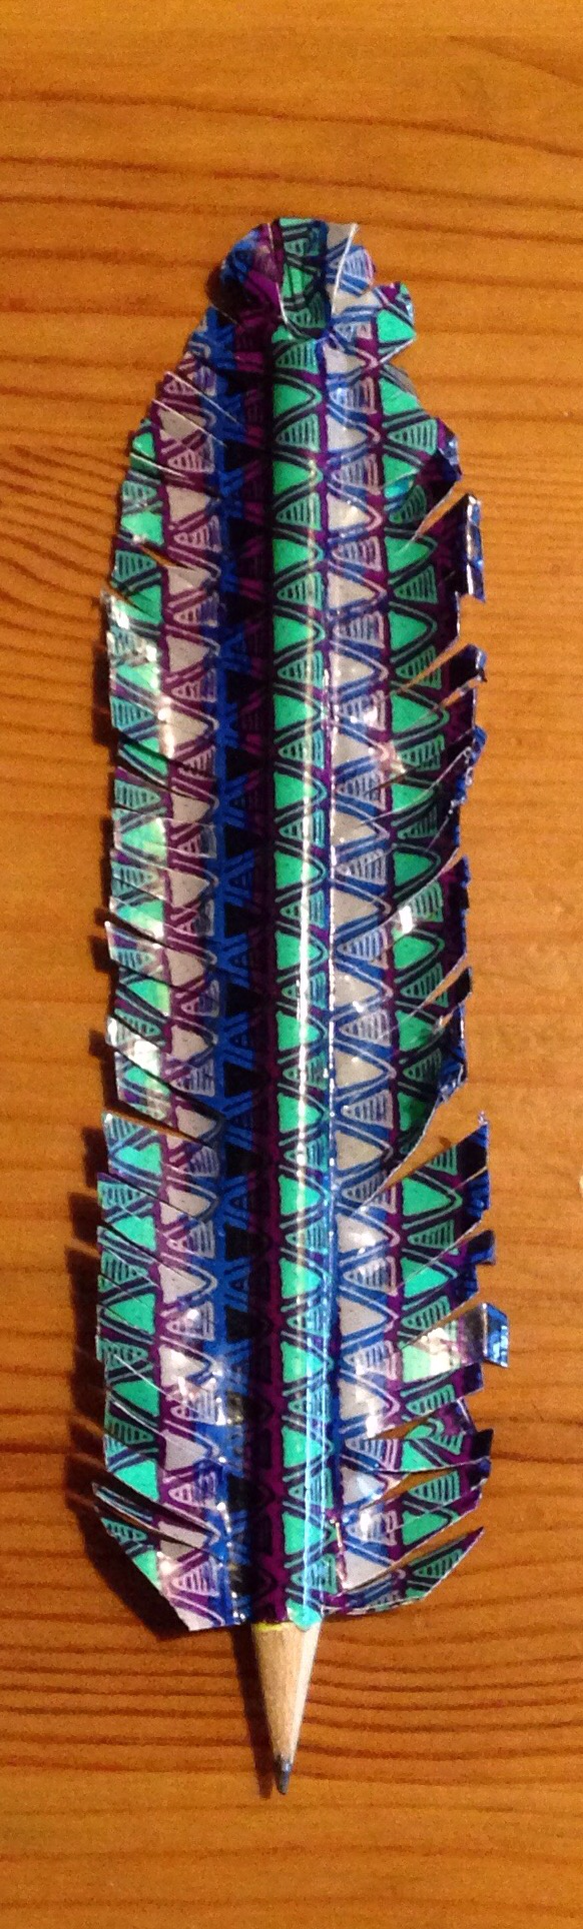
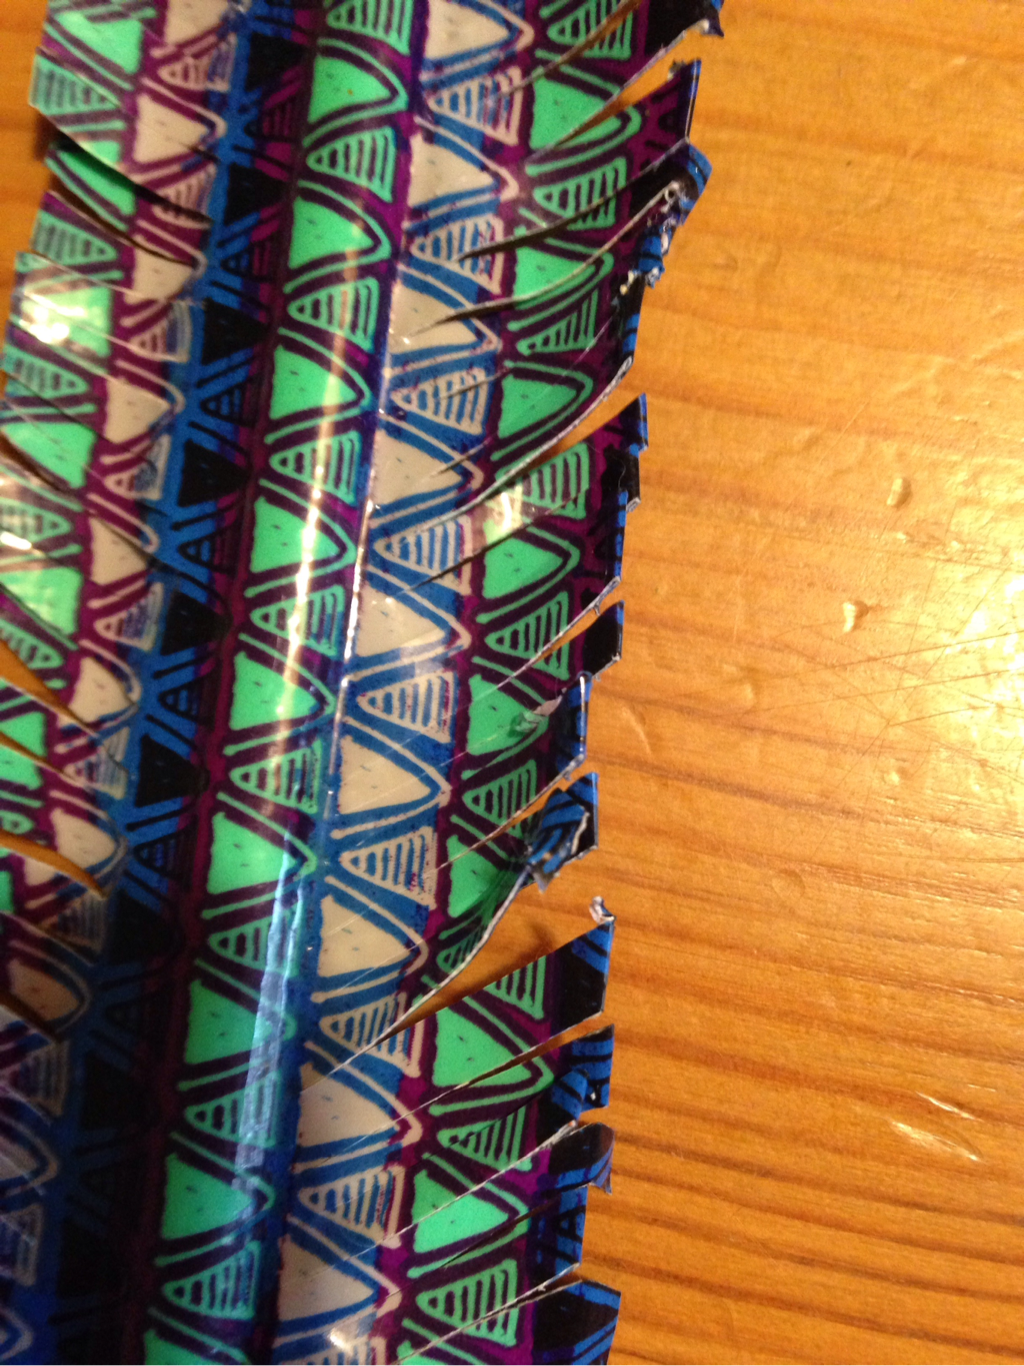
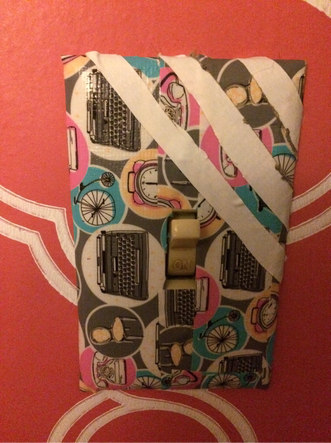
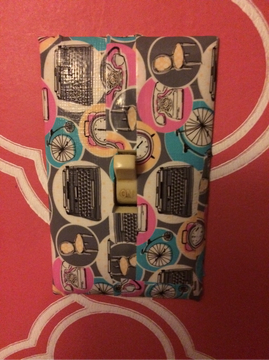
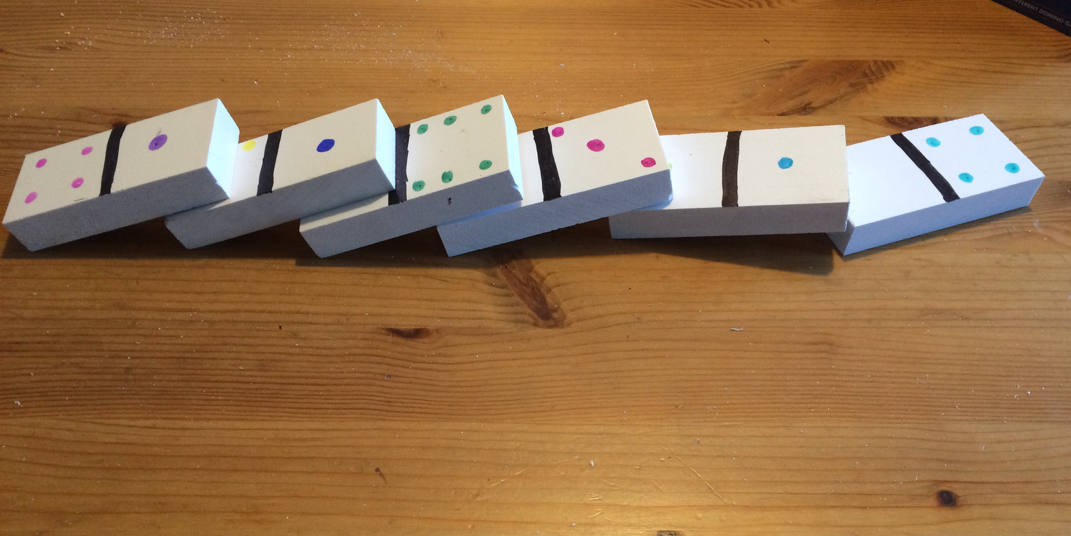
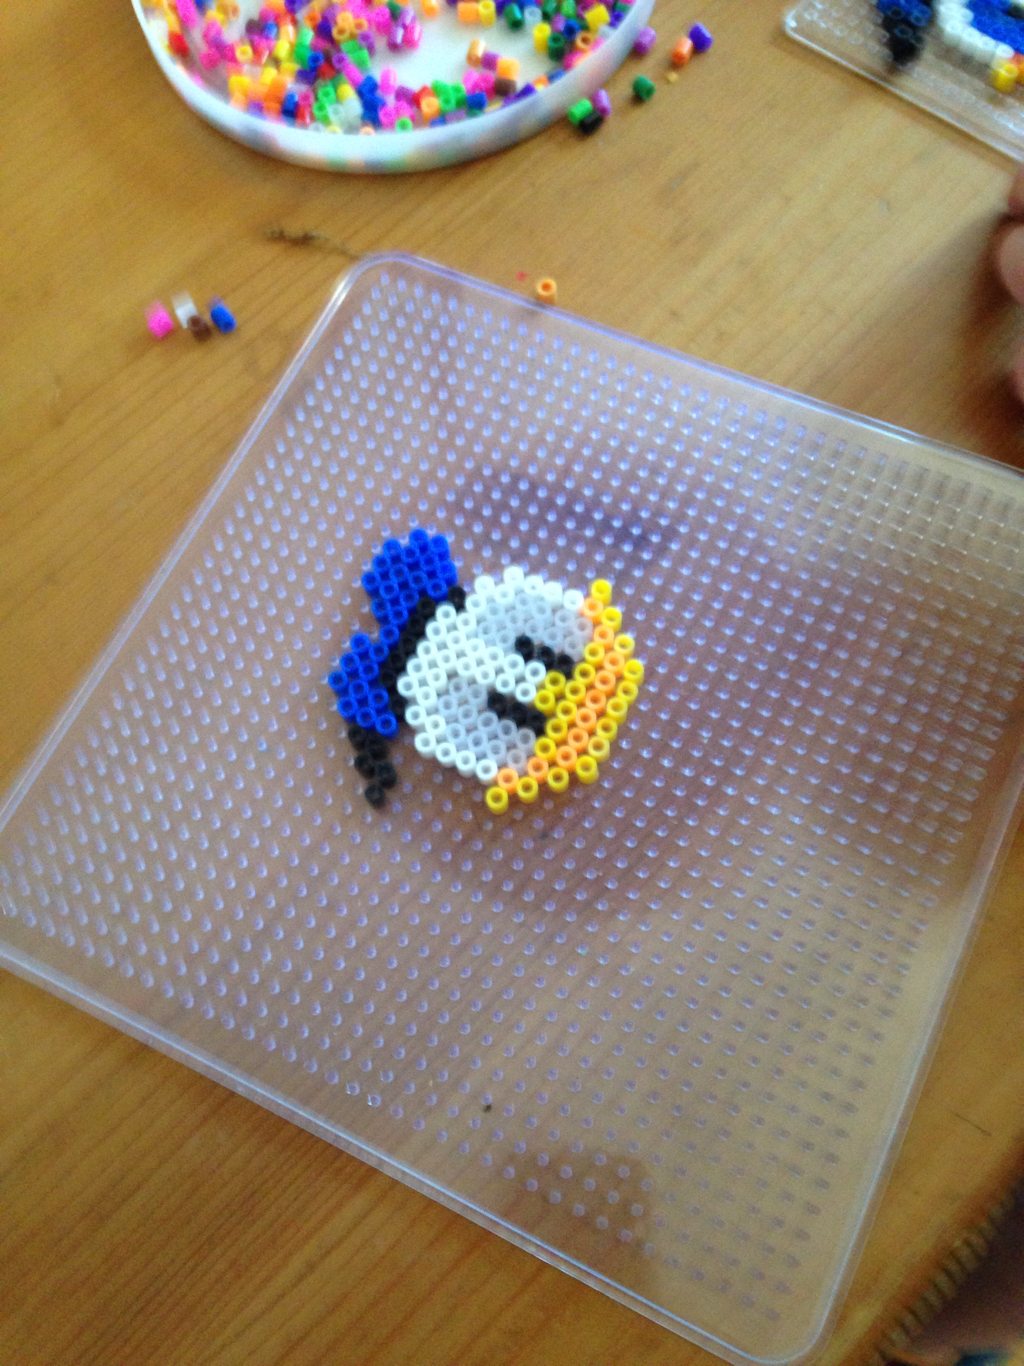
This is what mine looked like after it was finished:
Ask an adult for help
This is what mine looked like after it was finished: